 - pic. A
1. Cut two (2) lengths of thread 1 yard long. Cut one (1) length of thread as long as you can comfortably work with (at least 5 feet in length would be okay)
2. Condition thread with beeswax of Thread Heaven ™ if desired.
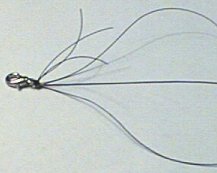
3. Gather
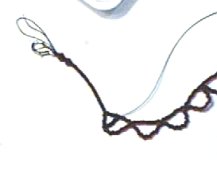
all three threads at one end and attach to clasp. (pic. A) - pic. A
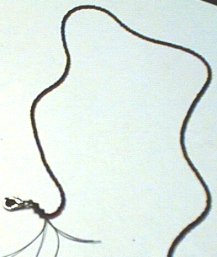
4. Choose
one strand as your BASE strand and string on 1 crystal ( I did use 2 on
the necklace in the photos, but you don't have to)
and
then enough of your base colour seed beads to almost the desired
length (pic. B) Actual length is adjusted after the loops are
added.
Place a stopper bead on this strand to
keep beads from coming unstrung.
 - pic. B
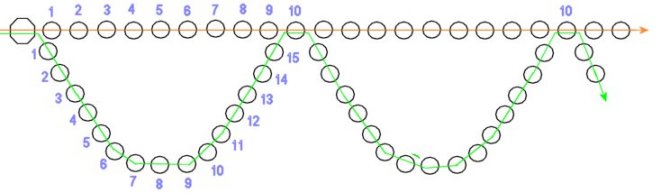
5. Thread
needle on to second strand to be used for LOOPS of
the necklace. Pass this thread through the end crystal
(and
as many, or none, of the seed beads) of the BASE strand
as desired) String 15 of the same colour seed bead
as
the base strand and pass through the 10th bead on the BASE strand. (See
diagram A)
 - diagram
1
- diagram
1
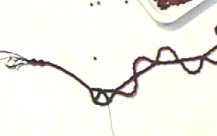
6. Repeat with adding 15 beads and passing
though every 10th bead on the BASE strand,
until the end.
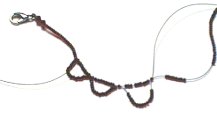 - pic C
7. Adjust number of beads on BASE strand to match loops at end and string a crystal on both strands at the end.
8. Thread
needle on to the last (3rd) thread to form the POINTS of the necklace
(Things may seem
a bit more complicated at this point, but once you do a few motifs,
you will have the hang of it!! I promise!)
9. Pass this thread through the end crystal (and any seeds beads, if you did this) to the start of the LOOPS and pass through the first four beads in the loop.
10. Bring thread up and add on 4 seed beads of the SECOND colour.
(NOTE: It may take a different number of beads to make it from LOOP to BASE strand depending on the beads you use.
This is fine, simply adjust according to your bead size so the POINT strands lays flat in between the two.)
11. Pass POINT thread through the FIFTH (5th) bead of the BASE strand in between LOOPS.
 - pic D
12. Thread
on 4 (or the number you used in step 10) more beads and pass through
the top of the
11th bead in the LOOP strand andexit between the 11th and 10th bead.
(Shown on pic E and diagram 2)
 - pic E
13. Thread on 7 beads of the second colour, 1 crystal, 1 bead.
14. Pass through crystal again, by-passing the 1 seed bead.
15. Again,
thread on 7 beads of the second colour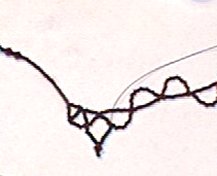 -
pic F
-
pic F
16. Pass
POINT thread through the bottom of the 5th bead in the
next LOOP,
exiting between the 4th and 5th
beads of this LOOP. (See diagram 2)
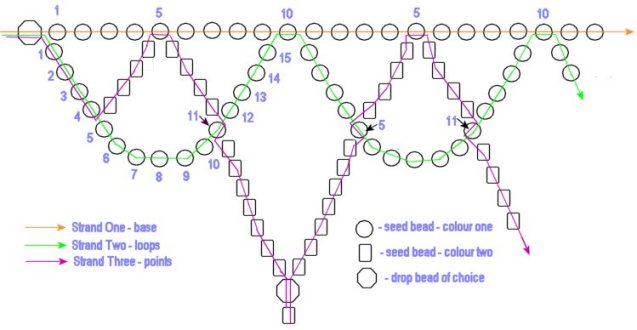 - diagram 2
17. Repeat steps 10 through 16 to create POINTS between each LOOP until you reach the end.
18. Thread POINT bead through to final crystal.
19. Attach all three thread to clasp.
20. Thread all three strands on each end through beginning to crystals to finish, adding a drop on glue on each knot if so desired.
21. Admire your creation!!!